For most of us, listening to headphones has become quite a big part of our daily routine. That’s why it’s extra annoying when your headphones suddenly sound muffled, or your ears start feeling irritated when wearing them. These problems are usually caused by one concern: dirty earbuds. Cleaning your earbuds may not have crossed your mind ever since you got them. But dirty earbuds can cause not just audio problems, but even health concerns. No worries, though! We got your back on this one. In this article, we’ll guide you through the proper methods of effectively cleaning your earphones, restoring them to tiptop shape. So let’s jump right in!
The Different Types of Earbuds
Some of you may ask: “Why do I even need to clean my earbuds properly? I can just wipe them with a damp tissue.” Yes, you can definitely wipe away the visible dirt with damp tissue. But chances are, the colonies of microorganisms inhabiting your earbuds are still there — making your earbuds a veritable cesspit for ear infections and other auditory problems. That’s why we have to identify what type of earbuds you have before we go through with the cleaning process. Doing so will help us determine what cleaning approach to take. It may fall under any of the following types:
Standard Earbuds: These are the most common type and are relatively inexpensive. They may either come wired or wireless.
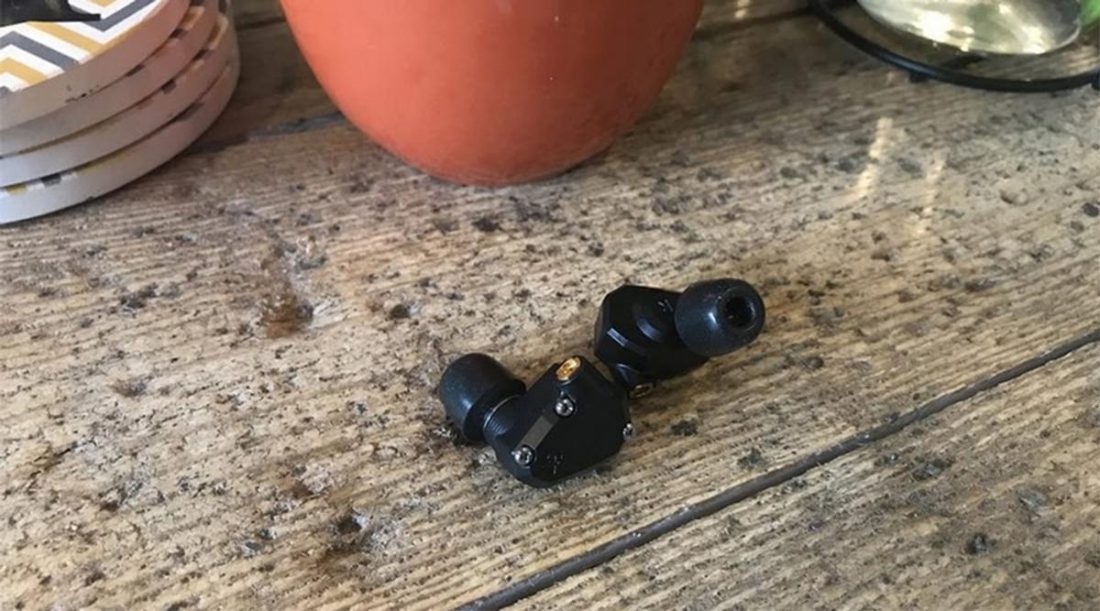
In-ear Monitors: In-ear monitors (IEMs) are similar to standard earbuds. The difference is that they’re inserted into the ear canals. As a result, they generally have better noise isolation and fit.
Over-the-ear Earbuds: These earbuds have their wires made to loop around your ears for better stability. This type is usually used by stage performers for monitoring. Their design makes them less visible than other types and their wires are usually detachable for easier upgrade. Beans Earbuds: Beans earbuds are a new type of earbuds cooked up by Samsung to compete with AirPods. Based on their name, beans earbuds are mostly shaped like kidney beans and don’t have the typical ear tips we’re used to seeing.
How to Clean Earbuds: Preparation
Before we begin with the cleaning process, there are some things that you must first do before anything else. They may be dismissed as skippable steps, but remember that a few minutes of preparation can prevent hours of headache as we go through with cleaning our earbuds.
Unplug your earbuds
Disconnect your earbuds from your audio device. Deactivate them if they’re wireless. Their low wattage means that there’s no danger of electrocution. But it’s still advisable to turn them off to prevent them from shorting out. Better safe than sorry.
Assess the damage
How we approach cleaning your earbuds will depend on at least two factors. First, is the level of dirt present. The amount of dirt build-up will determine the time required to complete the task. Second, is its location. If the build-up is mostly on the speaker mesh, you have to approach this differently and more carefully. There’s the danger of damaging the earbuds when any liquid gets through the mesh. Additionally, carelessly breaking up the dirt in this area may allow their entry through the mesh — a situation we’ll try to avoid.
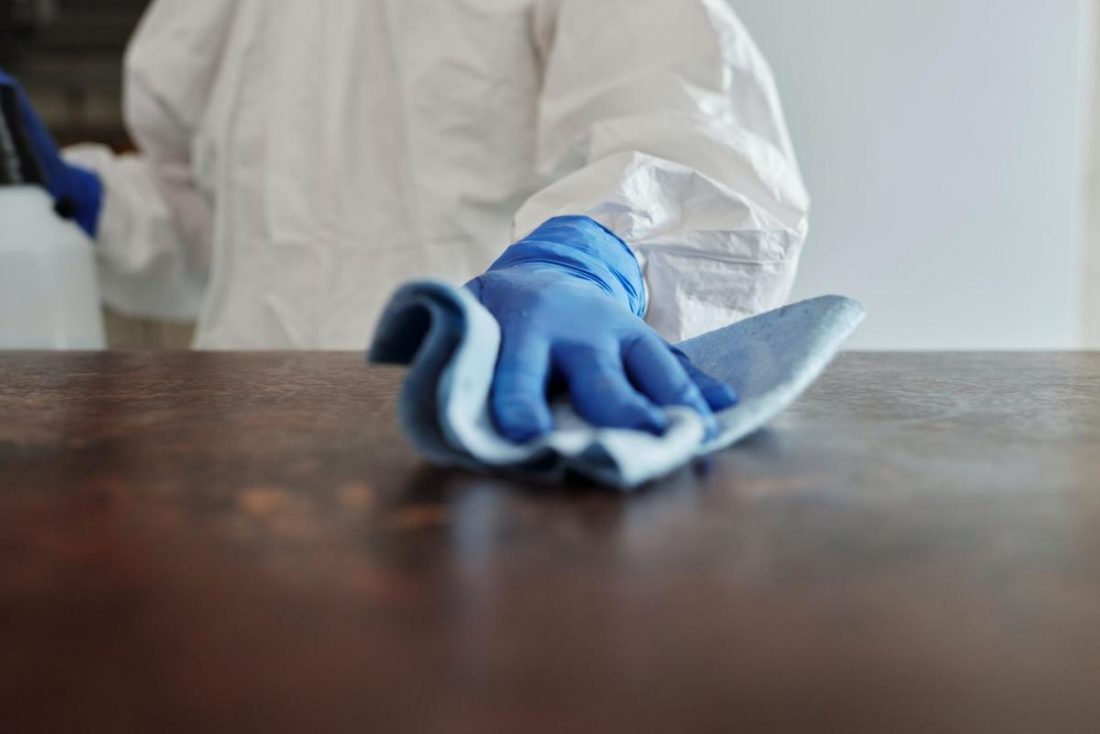
Set up your work area
Select a working area with ample lighting. Make sure to protect the surface of your temporary working space with some coverings. Keep some cleaning cloths handy, not for the earbuds, but for any accidental spillage.
How to Clean Standard Earbuds
As standard earbuds are the most common, they are also the easiest to clean. Using some household items you already have, we can go about cleaning them with relative ease.
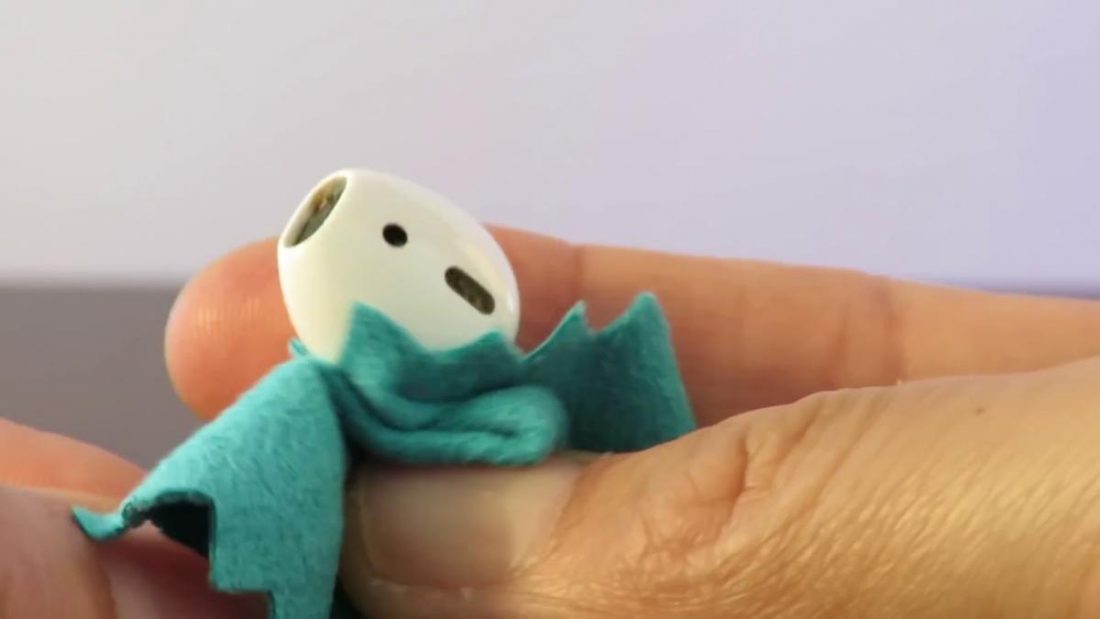
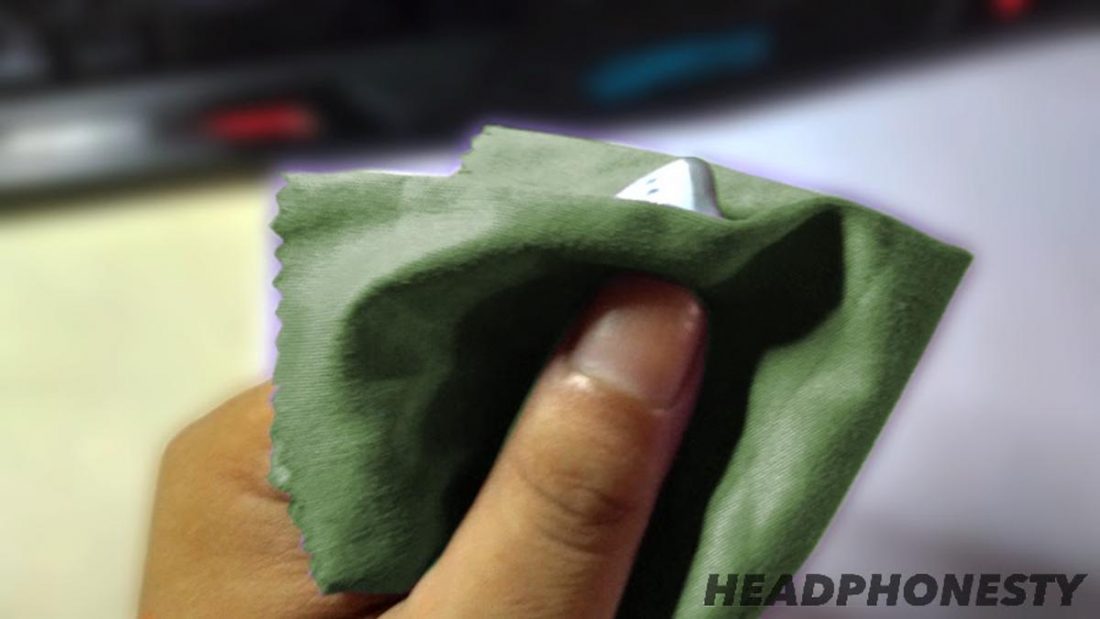
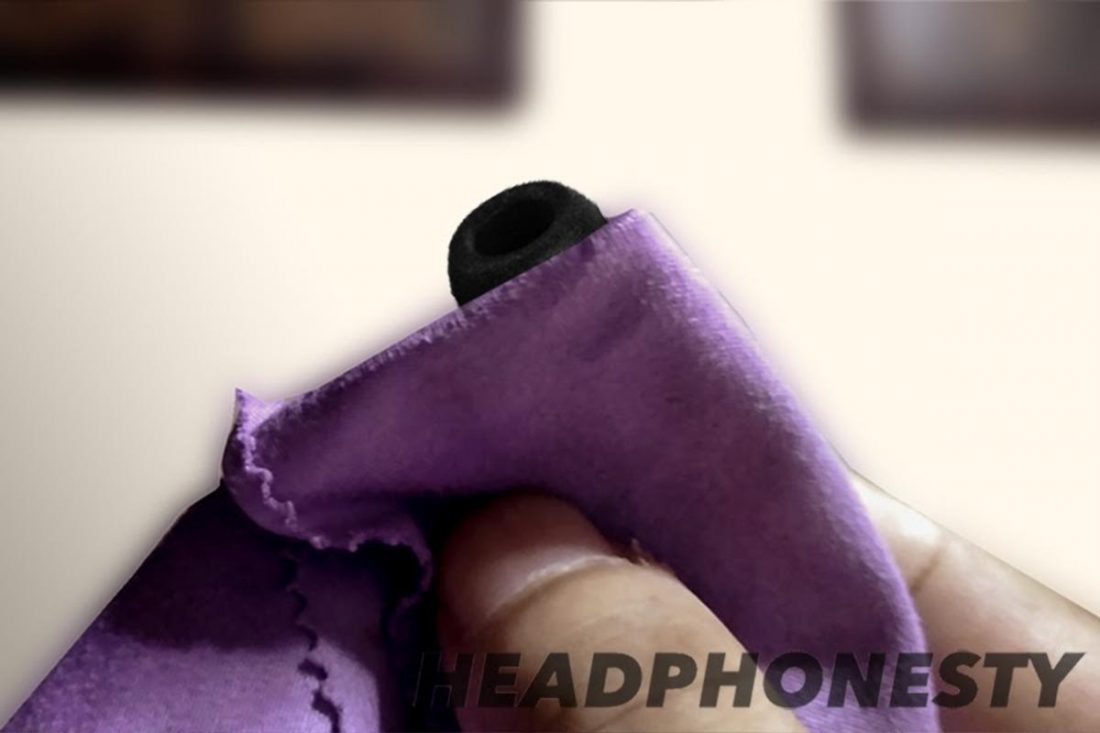
Clean the surface using a soft cloth
For this portion, you’ll need a soft cloth, preferably one that’s lint-free, and a bowl of lukewarm water.
Remove grime using soapy water
If there are any tough grimes, oil, or earwax remaining, level up the previous solution with a dishwashing liquid. We’ll still be using a soft cloth and a bowl of water in this procedure. But this time we’ll be adding dishwashing liquid to the mix.
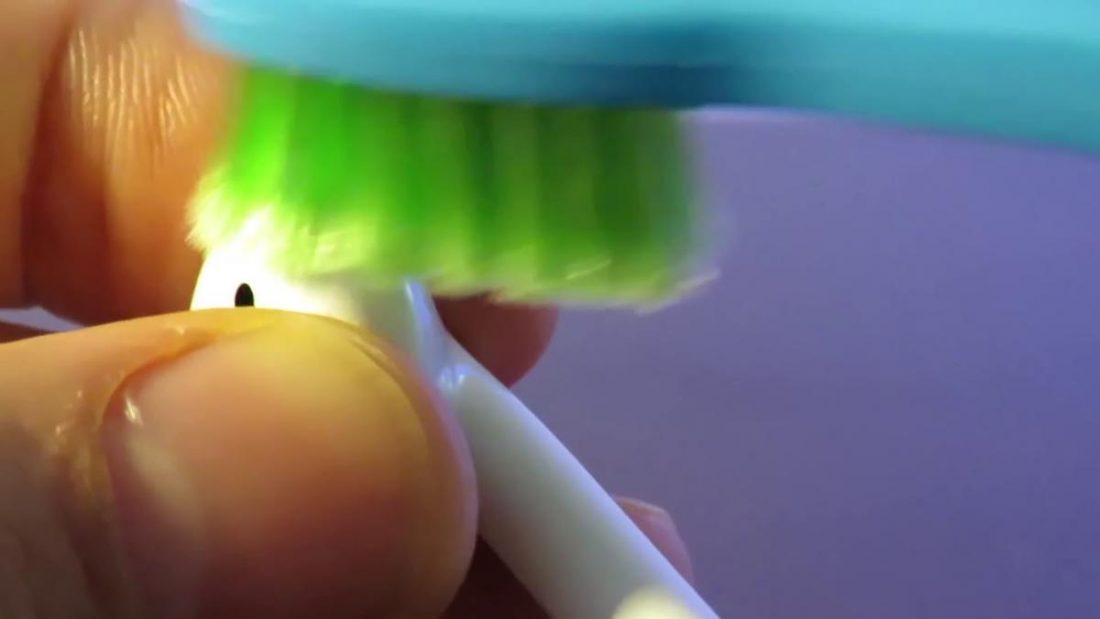
Remove debris and dried residue using a toothbrush
For any dried residue and hard-to-reach edges of your earbuds, using a toothbrush is your best bet. Most toothbrushes sold today are made of nylon, which is fine for our intent. But if you can get a soft-bristled children’s toothbrush, do so. The softness and size will help immensely in this procedure.
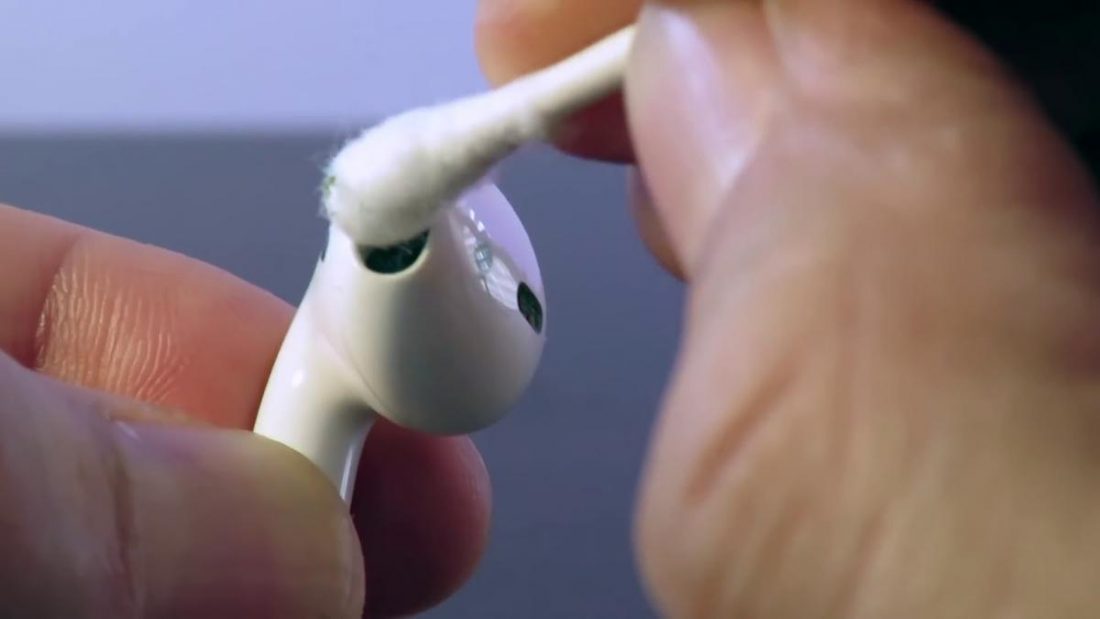
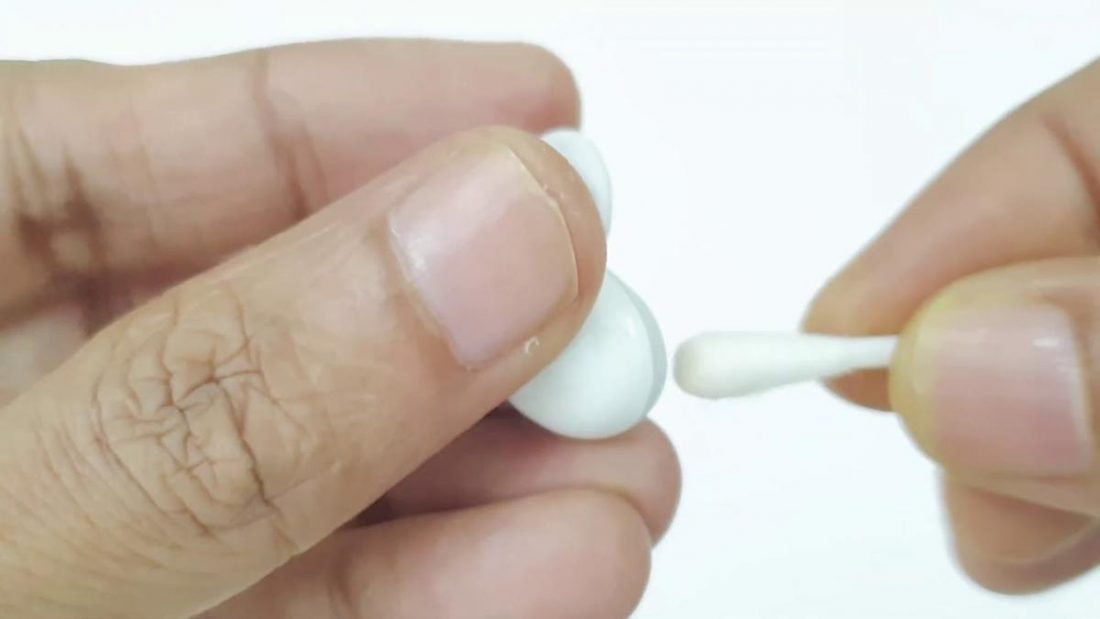
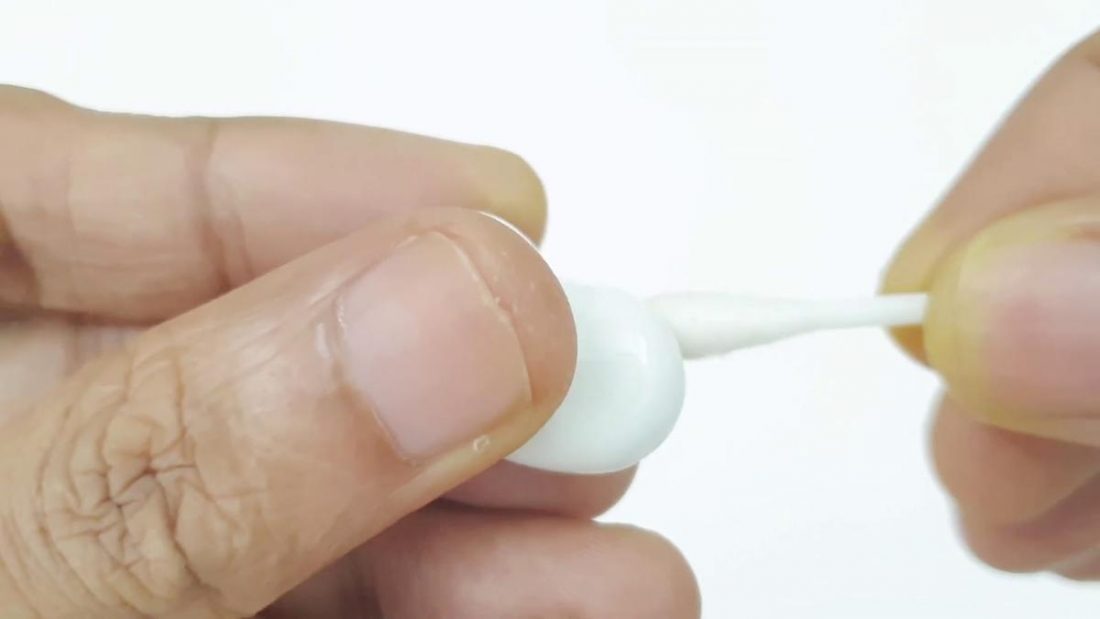
Disinfect using rubbing alcohol
Alcohol is an effective cleaning agent for electronics. This is not just because of its disinfecting capability, but also because it dries up faster than water.
However, when using alcohol with your earbuds, be extra careful not to get any through the speaker mesh. Alcohol, as with any other liquid, can damage the internal circuitry of earbuds. When wetting the cotton swab, make sure they’re not dripping wet.
How to Clean In-Ear Monitors
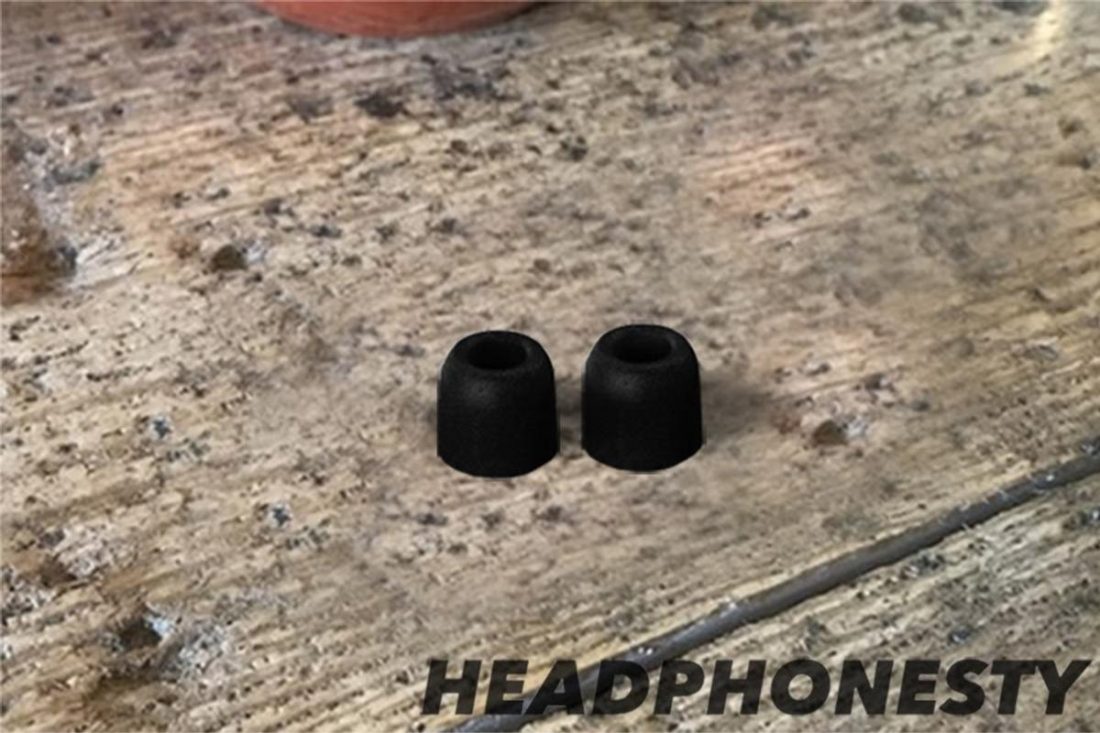
To reiterate, standard earbuds and IEMs are similar to each other. Their main differences lie in how they are worn — the former rests on the outer ear while the latter is inserted into the ear canal. And because of their form factor, IEMs have detachable ear tips people use to comfortably place them in the ear canal. With that in mind, cleaning IEMs is almost the same as cleaning standard earbuds. But, it has some extra steps for the ear tips. You can follow the steps mentioned in cleaning standard earbuds if you want to clean your IEM’s shell. For the ear tips, follow the procedure below.
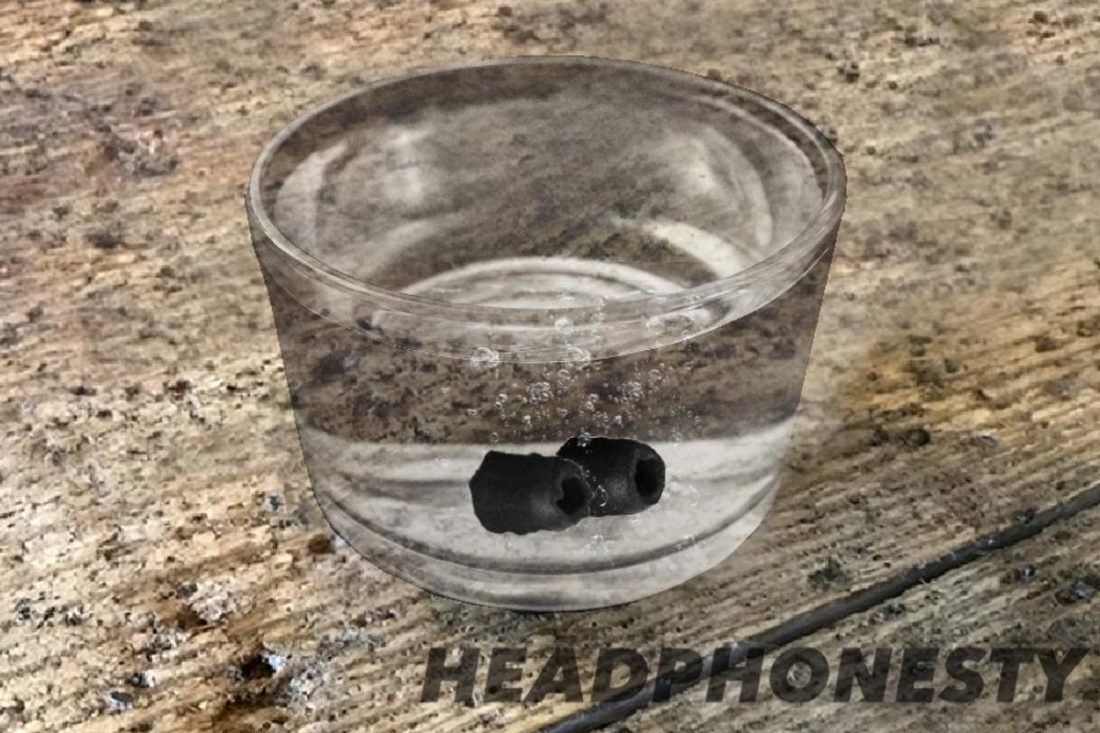
How to clean eartips
To clean the ear tips of IEMs, you’ll need some hydrogen peroxide, a small container, and some water in a separate container.
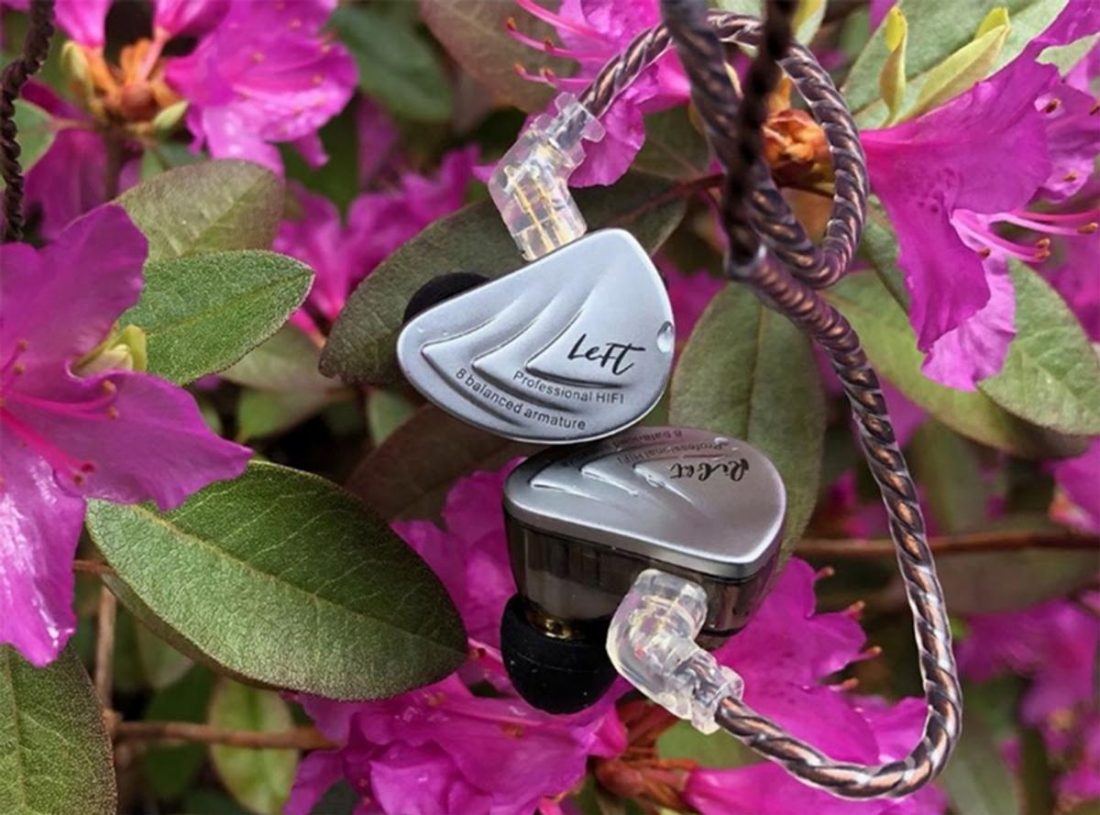
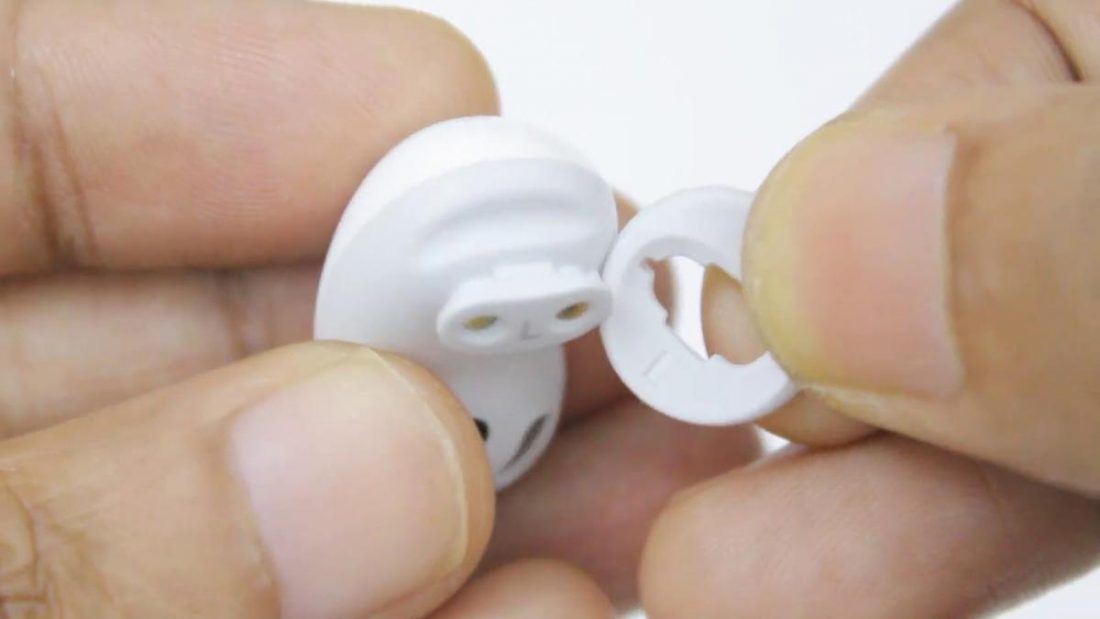
How to Clean Over-the-Ear Earbuds
These earbuds are recognizable by their hook-like attachments running around the ears’ helices. These help keep them in place no matter the user’s activity. They may vary in design, but this peripheral is consistently present in all over-the-ear earbuds. Also present in most over-the-ear earbuds are their detachable earpieces. This makes them versatile when it comes to cleaning and performance checks. A good example of this is the KZ AS16. To clean the casing of the earpiece, you can follow along with the methodology used on standard earbuds. Over-the-ear earbuds also usually have detachable ear tips so you can refer to the previous instructions on how to clean ear tips for that. However, cleaning over-the-ear earbuds can prove to be more challenging than other types. That’s because these have some hard-to-reach holes that couldn’t be cleaned with ordinary instruments. We’ll need specialized equipment for this purpose alone.
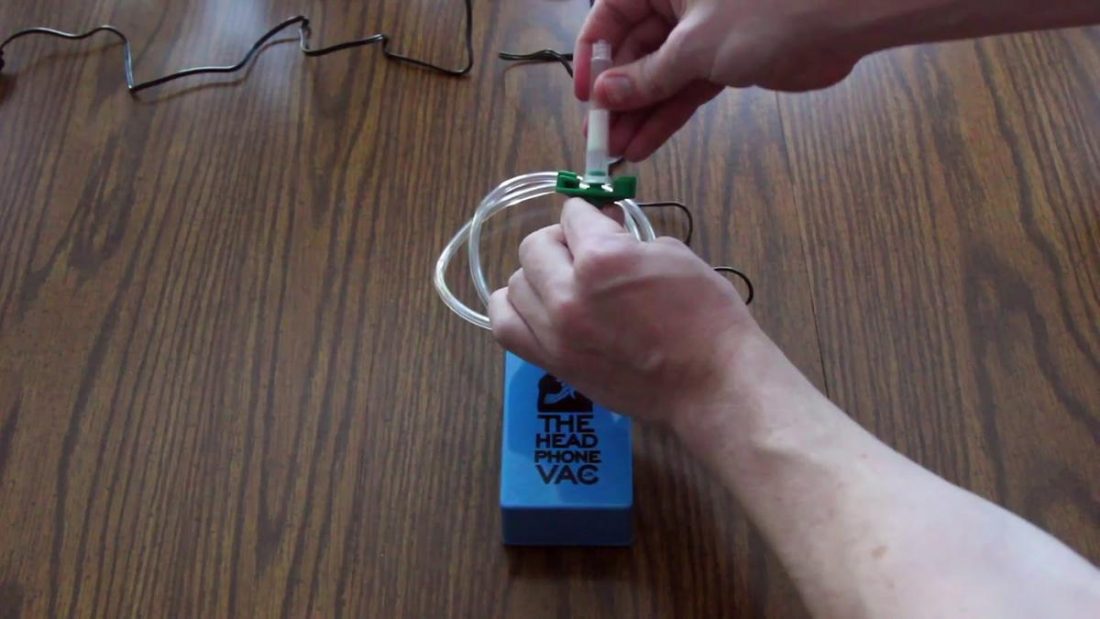
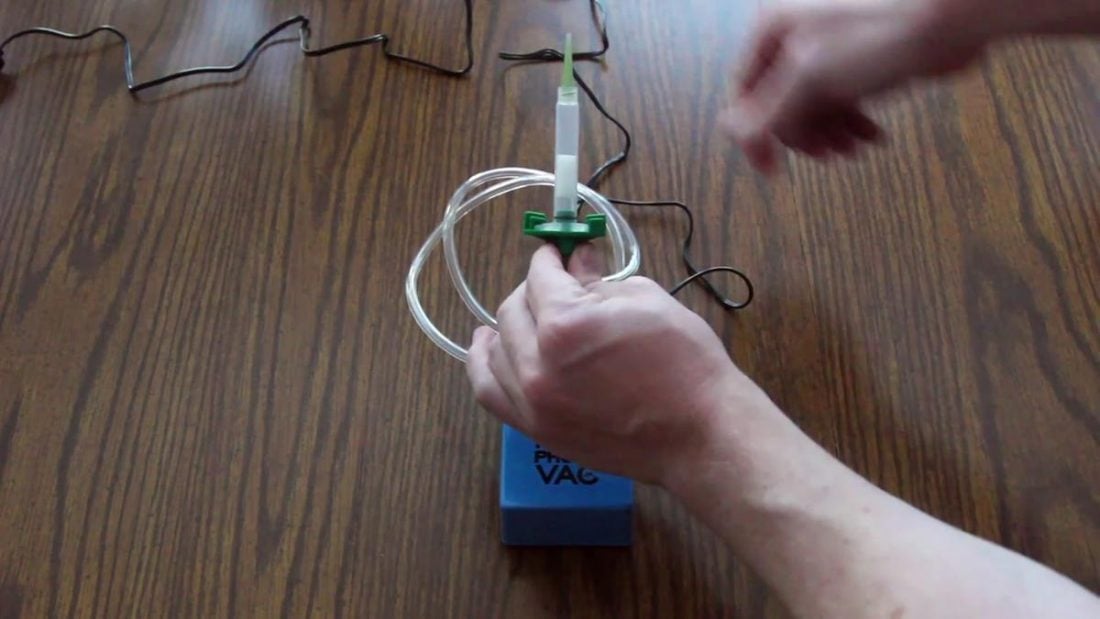
How to clean hard-to-reach holes in over-the-ear earbuds
When it comes to cleaning hard-to-reach nooks and crannies, the only way to do so is with specialized tools, specifically the Jodi Consumer Hearing Aid Vacuum Cleaner. This vacuum is originally used for cleaning hearing aids but it’s also a handy tool for cleaning over-the-ear earbuds.
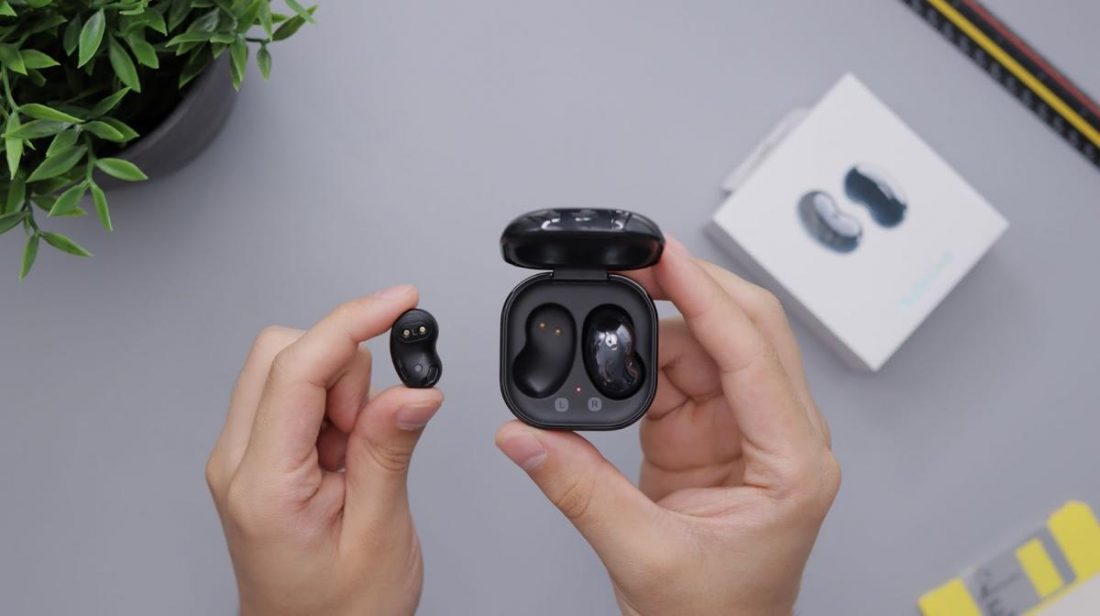
How to Clean Galaxy Beans
The most famous earbuds in beans form right now are the Samsung Galaxy Buds. Luckily, Samsung has listed down the proper cleaning methods for their Galaxy Buds Live. We present its abridged version below.
How Often Should You Clean Your Earbuds?
Earbuds should be cleaned at least every 72 hours of playtime. While that may sound complicated, it’s actually not.
Think of it this way: an average person’s safety threshold for listening to music is at eight hours per day (based on WHO safety standards). That would place your cleaning schedule at around every nine days. But, if you’re busy with your schedule and can’t find the time to clean your earbuds, you can always slow down the accumulation of dirt in them by keeping your ears clean. Make it part of your daily hygiene routine. This ensures that there are fewer chances of accumulating grime on your earbuds. Of course, it also prevents auditory problems.
Conclusion
By this time, you’re back to listening to music or watching shows alongside the activities you enjoy the most. Keeping your earbuds in tiptop shape lets you enjoy them even further with audio clarity in mind. You may have noticed that the cleanliness of your earbuds is a literal reflection of how you maintain your own hygiene. The less you pay attention to your ears’ cleanliness, the easier for your earbuds to accumulate grime and cultivate microorganisms. So, did you find any of the methods presented here effective? Were they relatable? Do you have your own tried and tested way of cleaning your earbuds? Please share with us in the comments below!